- Log into the Hub at: https://wpmudev.com/hub2/
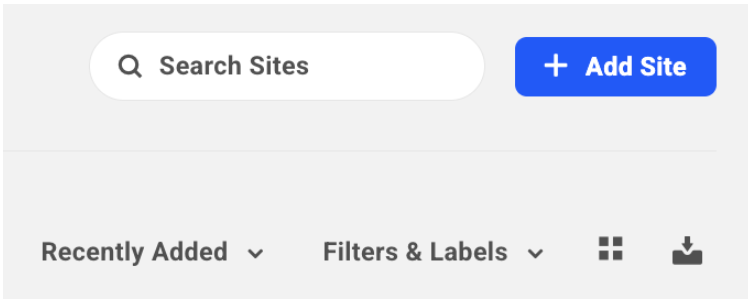
- Select the blue + Add Site button in the upper right near the search
- Select “Create a New Site”
- On the “Get Started with a Hosting Plan” screen select the option “Bronze $12/m 1 GB 1vCPU 25 GB 10 TB” option
- Uncheck any selected Add-Ons (we are not currently adding any) and the button will change to say “Skip Add-Ons”, select the button
- On the “Create Your Temporary Website URL” screen, enter the name of the live site but do not include https:// or .com, just include the name of the site, see below:

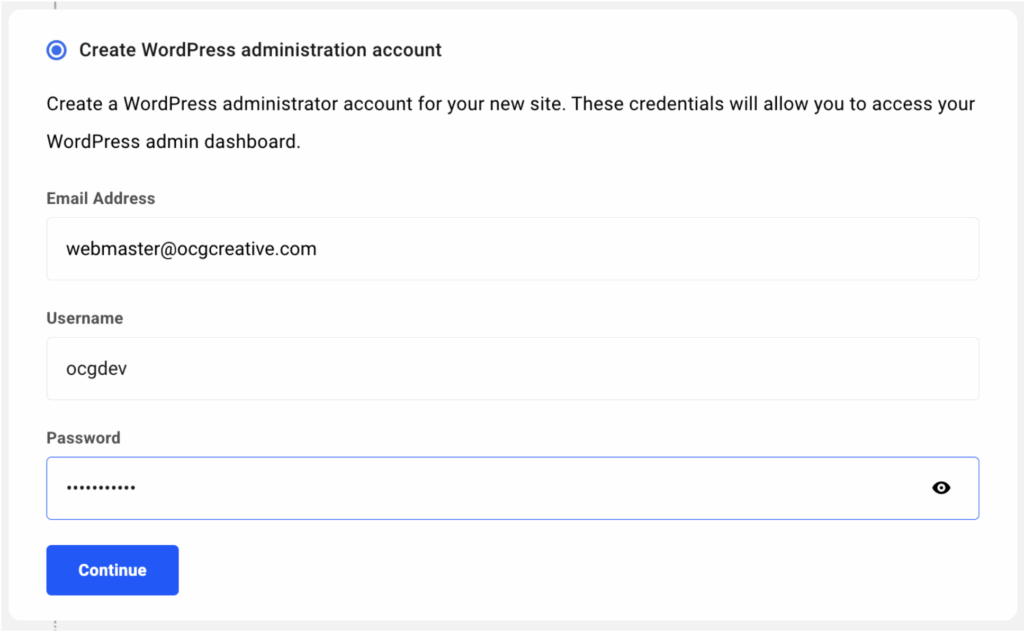
- On the “Create WordPress Administration Account” screen, use the information provided below. The password for this account will be changed during the go-live process for more security.
Email: webmaster@ocgcreative.com
User: ocgdev
Pass: Iputty9126!
- Select the server location as “Silicon Valley” and hit “Continue”
- On the template screen, select the option in the upper left that says “My Templates” and select the template you will be using for the website. Select the “+ Create Site” option over the template you will be using.
- Select the blue “Pay $X.XX & Create Site” option. Once selected, the hub will generate the temp.url site, this may take up to 10 minutes to populate. You will receive an email once it is complete.
- Once completed, in order for your changes to save while working on the site, you must turn off the WAF Firewall in the mean-time. This will get turned back on once the site goes live.
Click onto the site “profile” the hub to get to this screen: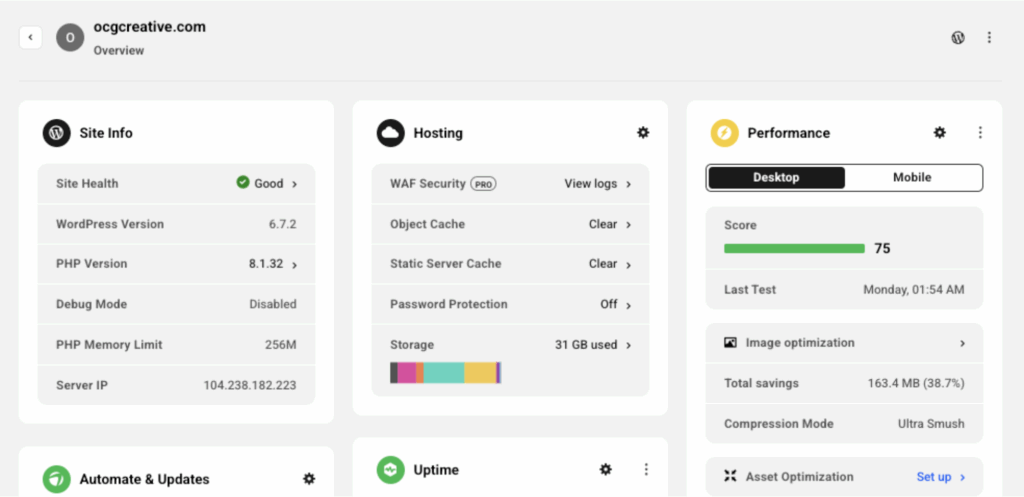
On the left menu, select the “Hosting” dropdown and click on the “Tools” option:
Once selected, there will be options for various tools. Under the security tools, find the “Web Application Firewall” and select the white “Edit” button underneath: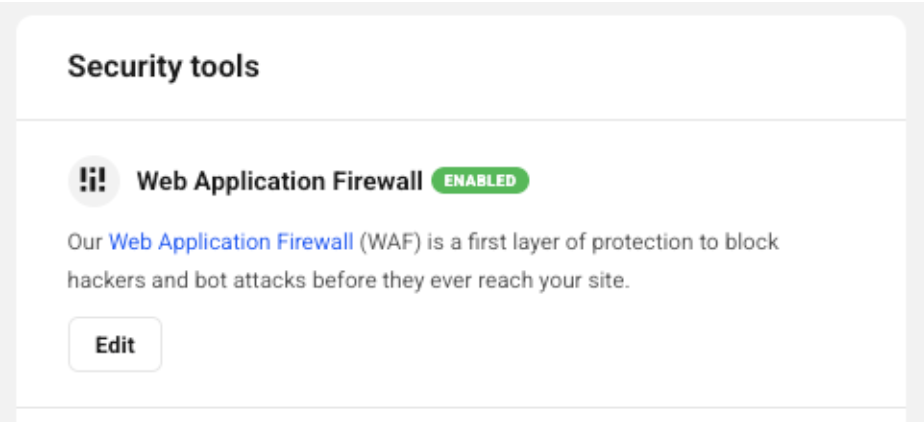
Once you are on the Web Application Firewall screen, the first option that appears is “Enable WAF” and the toggle is switched “on”. Turn the toggle off and you will see it turn grey. Once done, select the blue “Save” button and you will now be able to save the changes made on the website. Reminder: This will get turned back on once the site goes live.